

Welcome to a new section of my blog: DIY!
I am super excited to introduce this new section of my blog and start creating things to share with all of you! As you read in my last post about my resolutions/goals for this new year, (click here if you missed it) I am going to be taking more time for myself to do things I enjoy. So today, I tried something new.
My mom is my biggest inspiration with trying new things. Every year we always make a pact to try new things and meet as many new people as we can, and so far she has been in the lead in the creativity department. Lately, she has been creating so much with cooking new recipes, baking and introducing plants into her diet and home. I am seriously craving some of her inspiration.
As a beginner to cooking and house plants (DIY with my new Aloe plant is coming soon!), there is a lot of research that goes into every project. For beginners like myself, I was eager to get started and did not realize that the almonds need to be prepped the night before. Luckily, my mom prepped the almonds last night by soaking them in water. This morning we blended our almonds, created some milk and had a new delicious creamer we were able to add to our coffee. Homemade almond milk leaves you with a pulp that can be incorporated in other meals as well.
So lets get started! All you need are three ingredients: almonds, honey and an extract. For our milk, we used coconut extract. When I go back home, I want to try almond milk with vanilla extract and explore other flavor options. The process is very simple: soak, blend and enjoy. The longer you soak the almonds the denser they will get and the creamier the milk will be when you blend them. Once you blend your almonds and drain the milk from the almond meal, you’re done! Honestly, this is a life-changing thing and I will probably no longer drink store-bought almond milk. The only caveat is that homemade almond milk only lasts a few days in the fridge.

When you’re making your milk, be sure to have a plate on the side to dump out the crushed almond meal, you can use this later! The almond meal/pulp is perfect for baking and is actually an equivalent to flour. Let is sleep in the freezer until you’re ready to use it.
DIY: Homemade Almond Milk
What You’ll Need:
Ingredients
- 1 cup raw almonds
- 2 cups water
- a drop or two of extract, you can use coconut, vanilla or anything that you want to flavor your milk
- a few tablespoons of honey, agave syrup or maple syrup
Equipment
- Blender
- Bowl
- Strainer
- Measuring cups/spoons
- Blender or food processor
- Cheese cloth
Instructions
- Soak the almonds overnight. Place a handful of almonds in a bowl and cover with s cup of water. They will soak up with water and become plump. The longer you soak your almonds the milkier the drink will taste.
- Drain and rinse the almonds. Drain your soaked almonds and rinse them thoroughly under cool water. Discard the water the almonds were soaking in.
- Combine the almonds and water in a blender. Place the almonds in the blender and add 2 cups of water.
- Sweeten to taste. Add in the honey and extract to sweeten the milk.
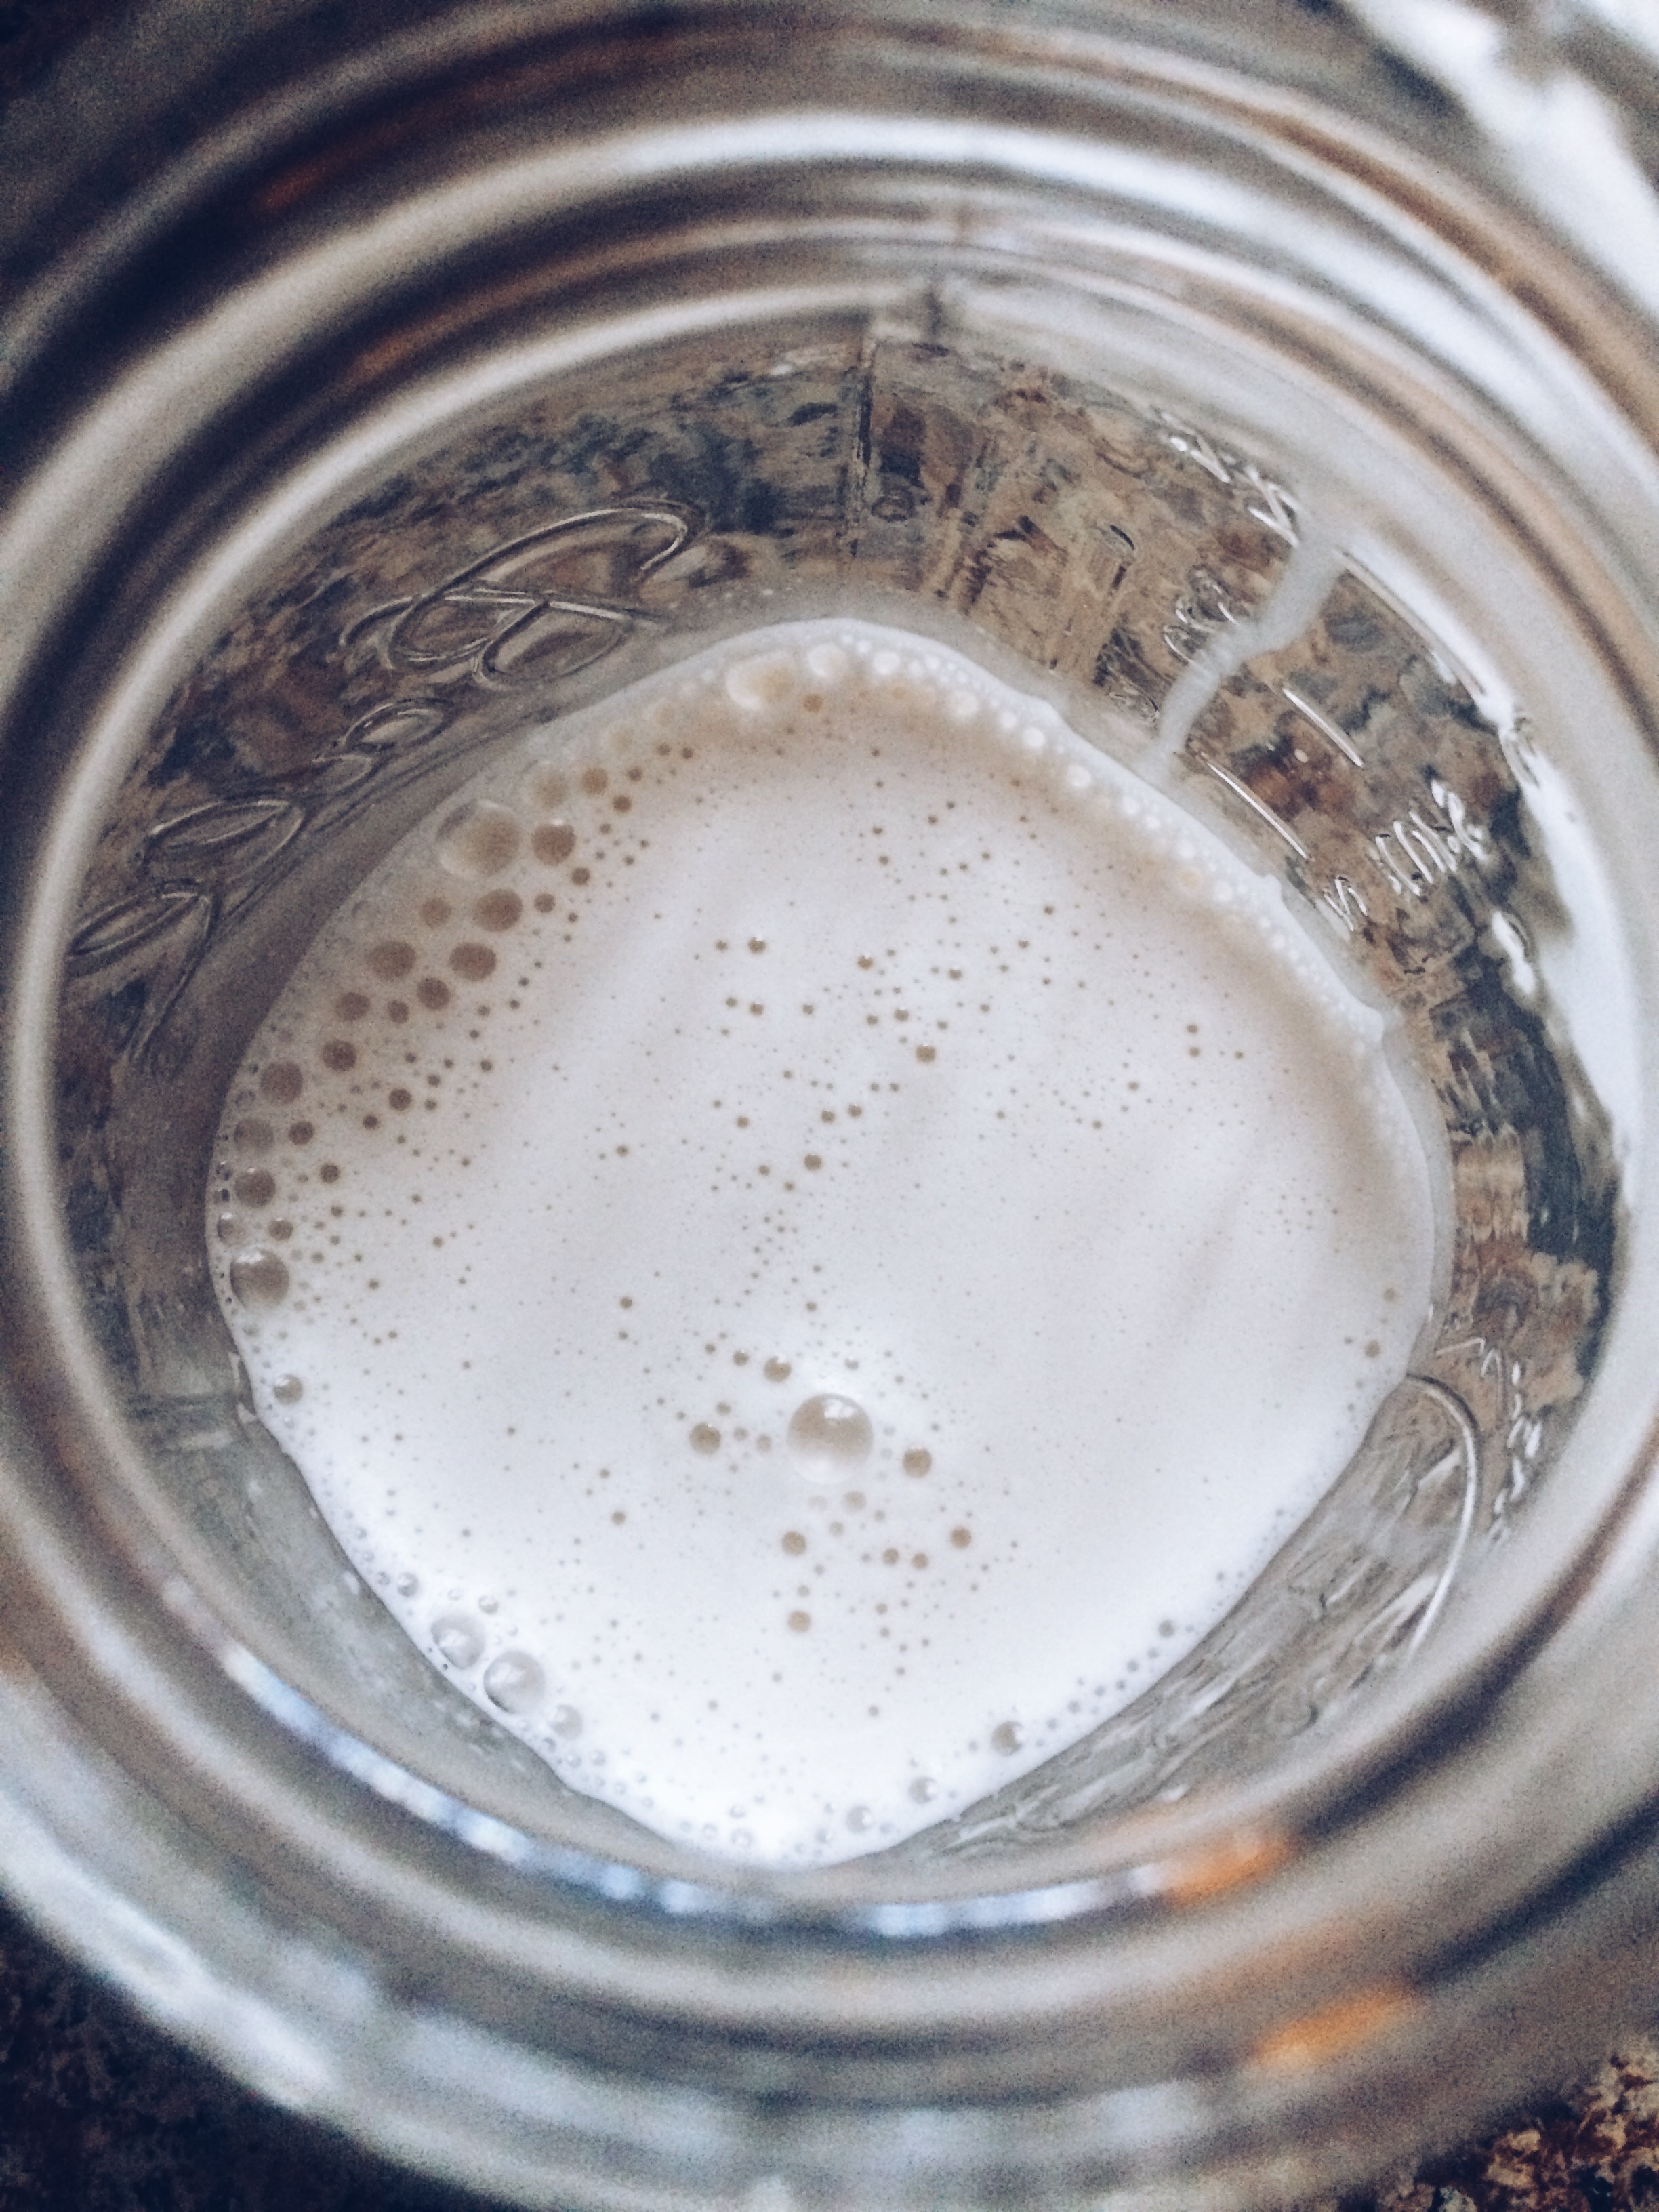
- Blend your almonds for about one minute. If you blend your almonds too long they can turn into a buttery like substance. Inside your blender you should see the almonds turn into a fine meal and the water will now have a white/opaque color.
- Strain the milk from the meal. Put your strainer over a bowl and line the strainer with cheese cloth. Pour the almond mixture into the strainer.
- Squeeze out all of the almond milk from the almond meal. Gather and twist the cheese cloth to squeeze all of the milk out.
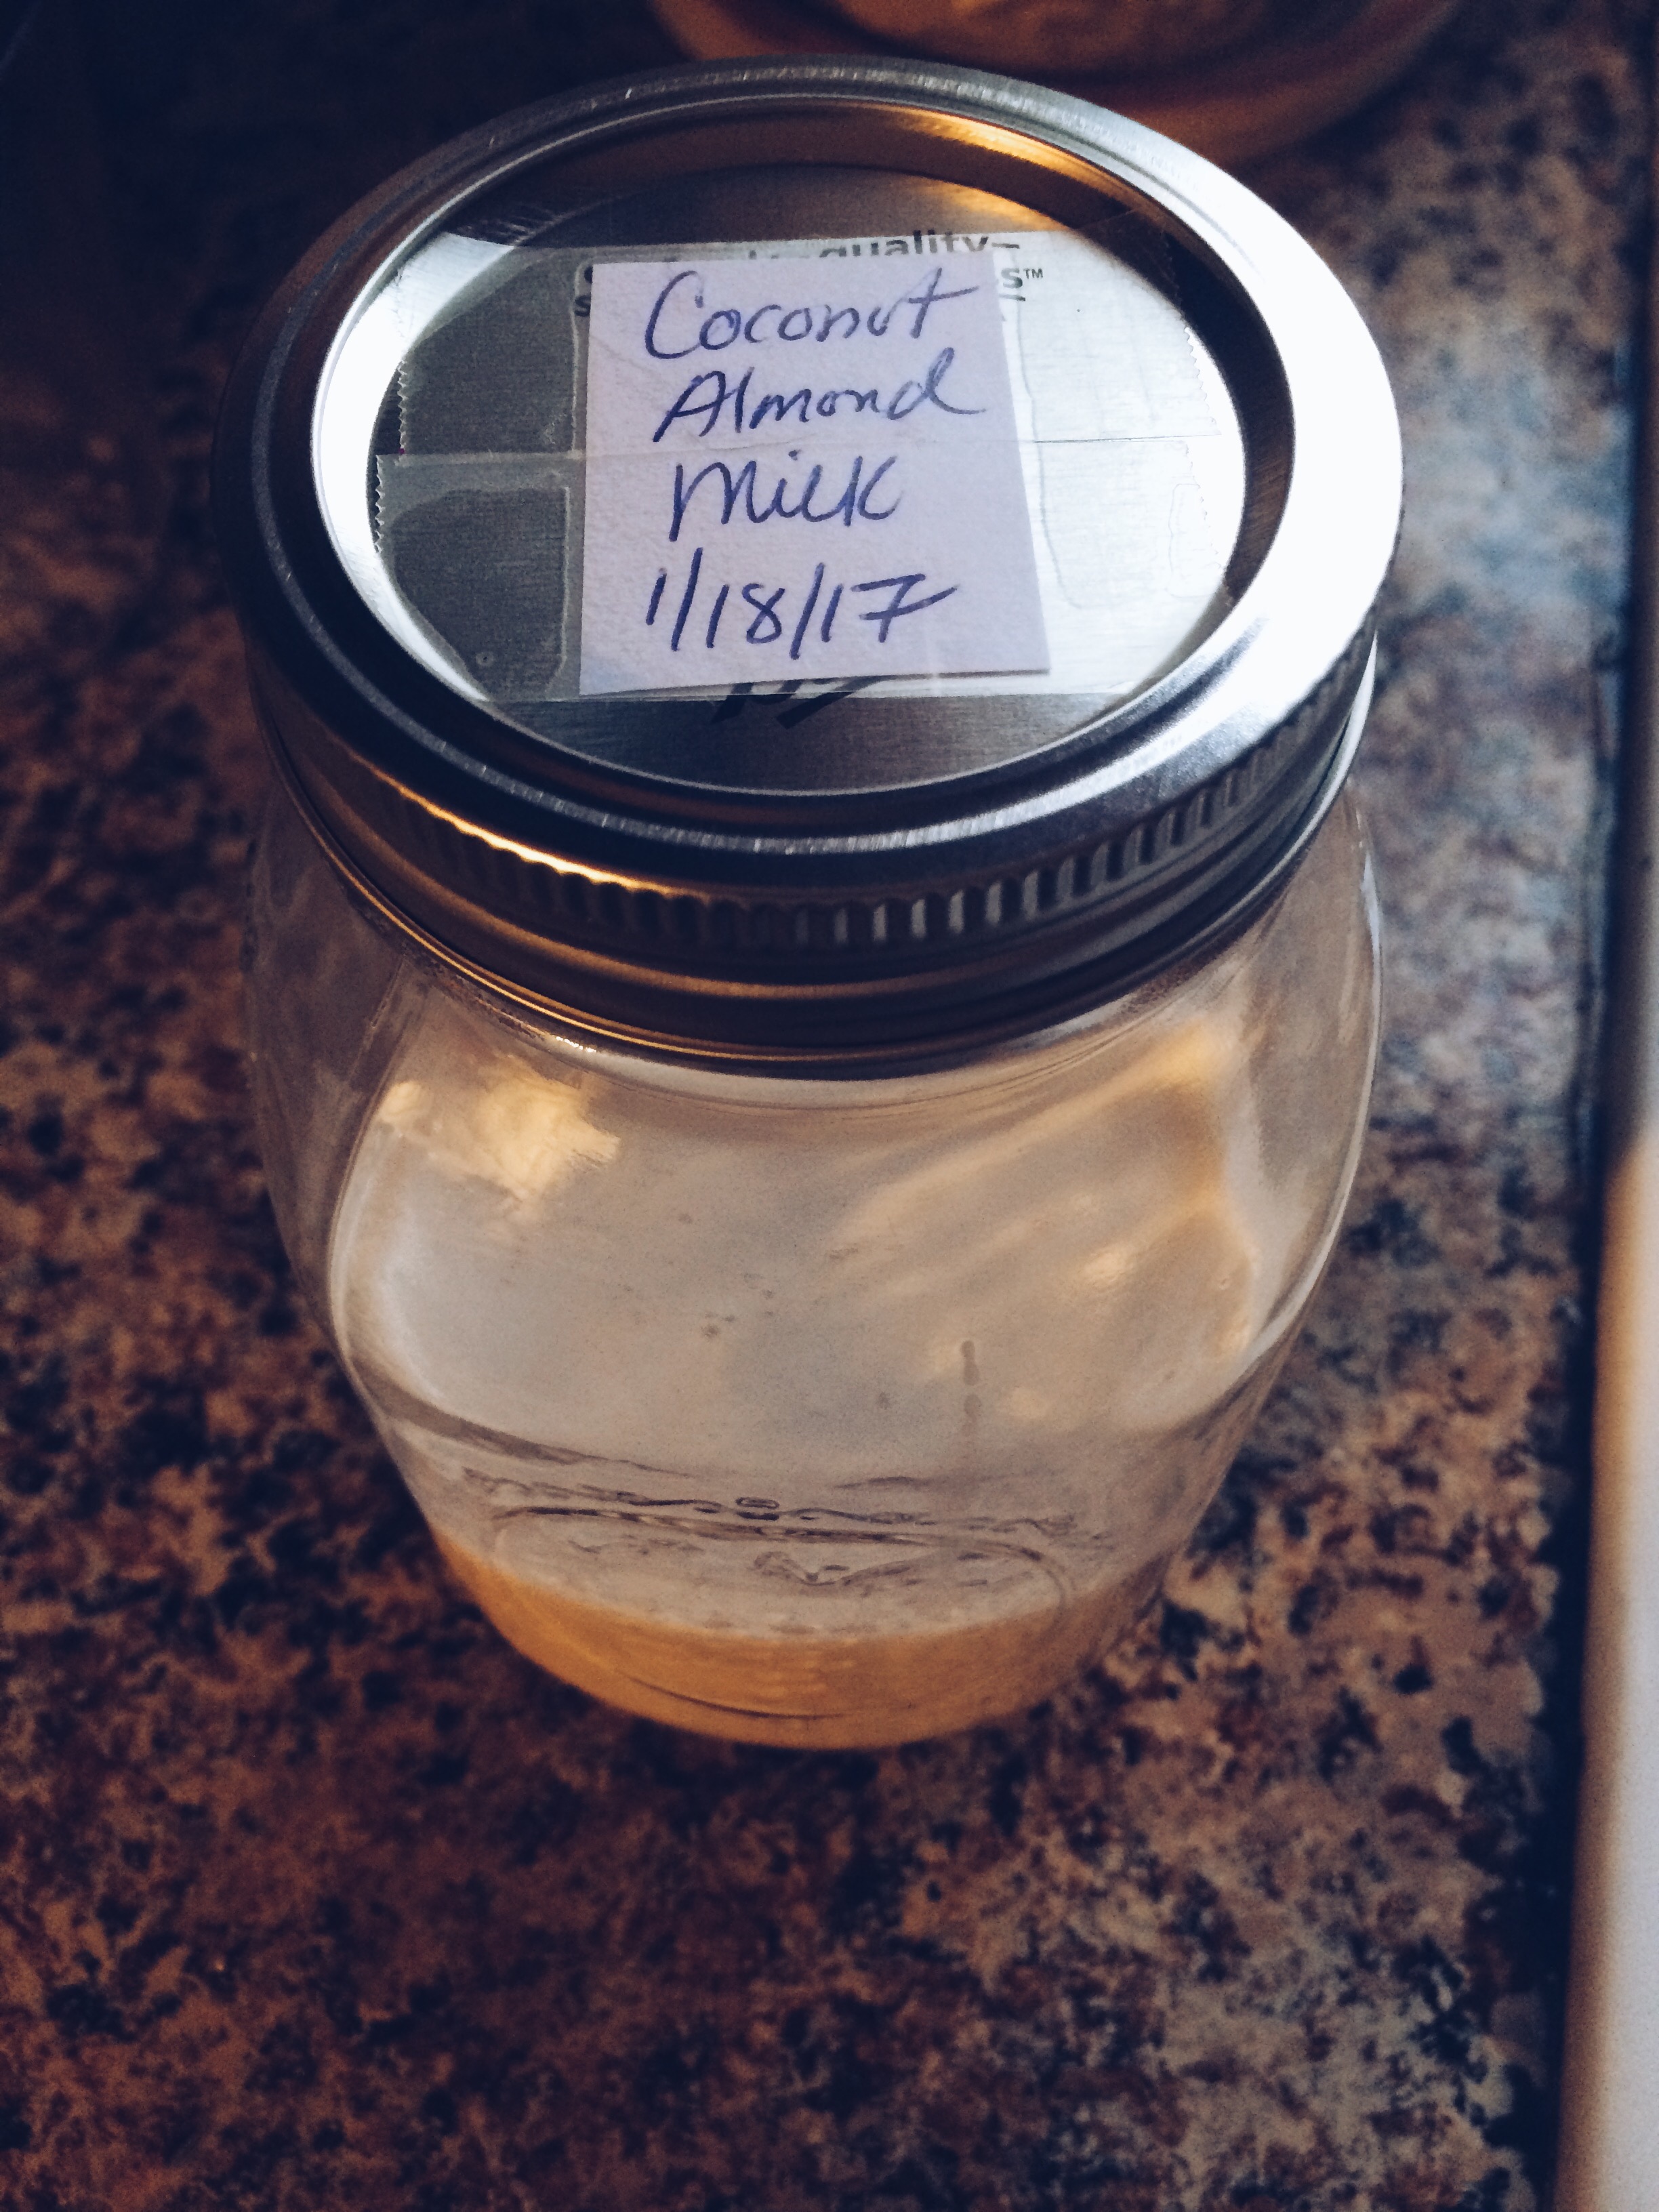
- Pour in a cute jar and refrigerate your almond milk. Store the almond milk in an air-tight sealed container in the fridge for up to five days.
For the leftover meal, it is perfect for adding into oatmeal, Greek yogurt, baking or smoothies.


Let me know what you think in the comments below! I love hearing from you! Enjoy.
xo

Looks really good ! It’s so much creamer.
LikeLiked by 1 person